If you haven’t yet had to put together a shift schedule for a team of employees, the prospect can seem daunting. However, shift scheduling applications are available that can have you creating complex shift patterns in moments. Even the ubiquitous Microsoft Excel spreadsheet can be pressed into service as an employee scheduling tool. This office application has some handy templates to speed up the initial creation of a work schedule. Just follow this simple guide to create an Microsoft Excel employee shift schedule that you can reuse over and over until you’re ready to invest in a work scheduling app . If you prefer to follow along with an infographic – use our 12 step infographic to build your first shift schedule.
The following are the steps for Creating a Microsoft Excel Employee Shift Schedule
1.Start Microsoft Excel, click on the File tab
2. Select New.
3. Double-click the Schedules button on the Available Templates<, screen.
4. Double-click the Business schedules file folder icon. Double-click a schedule template that matches your scheduling needs.
5. Click into one of the cells populated with a fictitious employees’ name. These cells are typically located in the leftmost column.
6. Overtype the fictitious name with the name of one of your employees.
7. Repeat steps 5 and 6 to add each employee to be included on the first day of your schedule. If you don’t need all the rows in the template, right-click the row header of any unwanted row and select Delete. To add employees, just right-click a row header, choose Insert to add a blank line and then type an employee name in the leftmost column.
8. If you didn’t add or delete any rows, you can now copy the cells with the employees’ names. Highlight the employee name cells in the next day of the week, right-click and select Paste, to replace the fictitious names with those of your actual employees. If you did add or delete some rows, you would need to add or delete corresponding rows in each daily section of the schedule.
9. On most of the templates supplied in Microsoft Excel, the attendance times run across the top of the schedule grid. You can change the times in these fields if you wish, simply by overtyping the existing times. For example, you may want to use time increments that start at half-past the hour.
10. Delete all the dummy information in the scheduling cells. To do this, click in a cell that contains data and hit the delete key on your keyboard. To schedule your real employees for work, you can simply type an X in each cell the person is required to be at work. For example, to schedule an employee from 9:00am to 12:00pm, type an X in each associated cell. The template should already excel formula in place to recognize which of the schedule cells are populated with an X (or any other text you choose to enter) and automatically calculate the number of hours in the Total or Daily hours column.
11. The template may have the information above the schedule grid that you wish to amend, such as a title and fields for the week start or end date and department name. You can simply change all this information as you wish.
12. Now click the “File” menu and choose Save As.
13. Type a name for the schedule or just use a week number or start or end date.
14. Select where to save your new schedule. Finally, click the Save button.
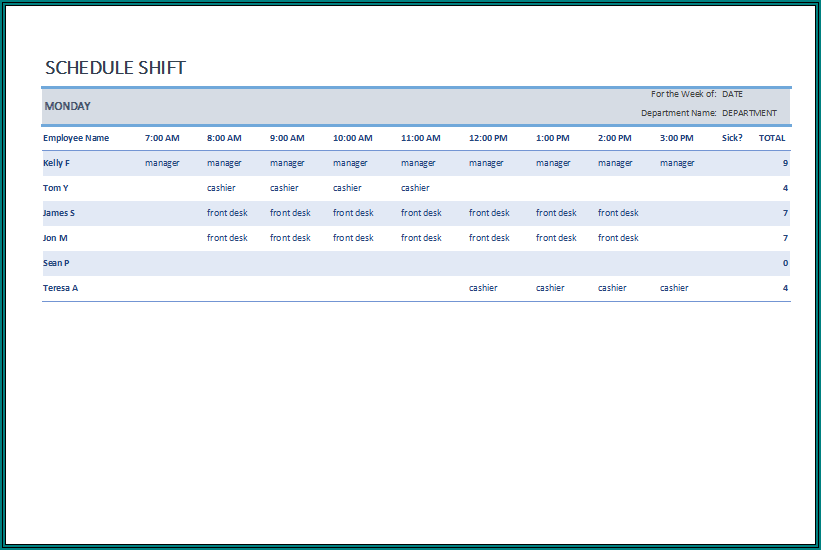
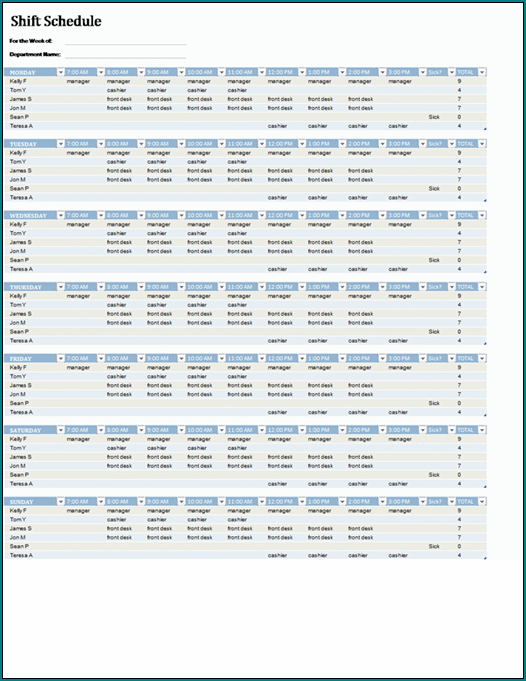
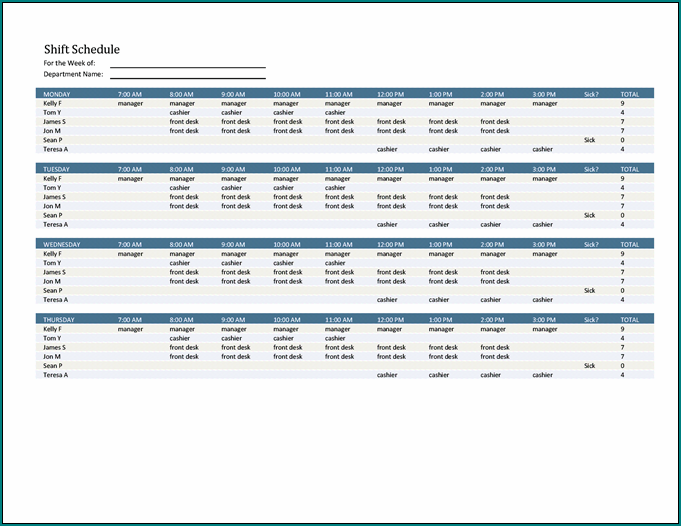
Still not interested in creating your own excel schedule template? Download a free, customizable and easy-to-edit schedule shift template.
Samples of Schedule Shift Template:


Now you have a completed, professional-looking schedule that you can email to your employees or print as a hard copy to place on noticeboards. Creating new schedule shift template is as easy as copying the original you just created and updating the copy with new details.
Schedule Shift Template | Excel download